Wednesday 30 September 2015

How I Lost It!


There were times when I wondered how it feels to be fat! But since this post is about losing weight, I will not talk about that wonderful time.  www.worldofmoms.com want to hear about the story where all this weight loss madness began for me. After the magical skinny days were over, my body showed its true colors or to be more precise its true curves.

My tendency to look round is God's gift. I have been trying to keep myself fit since long ago. But my laziness comes in between me and my fitness program. Once upon a time, i.e. long ago, when I started working for the first time, I thought that I should now get out of the student mode and look every inch the professional that I was now. So I kissed my laziness goodbye and devised a fitness plan. But lazy as I was, I did not want to venture out of my home. So I decided to skip rope at home in order to look fit and fine. An easy and sporty way, right? But alas, something somewhere went terribly wrong, probably with my shoes or my technique, and after two days of skipping, a little sharp pain erupted in my left knee. It kept growing and became so intense that I started limping quite noticeably. I was new in office and not many people knew me. When they began knowing me, I was limping more than Langda Tyagi of Omkara. So they came to know me as 'That poor girl' in HR with a limp. 'Tch, tch, she has a pretty face, but poor girl cannot walk.' That's what their pitying eyes told me. And kept telling me so for a good 15-20 days, by when, I was well known in the office, partially due to my seat right next to the main passage where it was clearly visible, and partly due to the limp factor. I had to take medicines and apply various ointments in order to get well, which was not soon. When I had fully recovered, and people who did not see me on a regular basis in the office met me again, they were surprised to no end. My limp going away was nothing short of magic to them, since they had never witnessed such a speedy recovery. However, within six months of staying there, I had lost a lot of weight, due to all the stress and bad food, and my old friends refused to identify me.

Now, after marriage and a kid, I have become much rounder, and heavier, with a stubborn and round belly which loves me so much, it does not leave me. Even then, I never attempt to go beyond my capabilities as I have learnt my lessons early in life. I follow a few basic rules though, that work for laziest of the people:
1. I try to eat regular, healthy food, nothing fried or fatty.
2. I try to keep up my routine of evening walk. It helps.
3. I have learnt to have a single lemon juice once a day, and many glasses of water during the entire day.

Apart from these few things, I never attempt to go for any crash diets or extreme measures. They might help but they cause other problems like headaches or acidity, which is unbearable for me. So, maintaining my current health takes priority over losing any weight. To each, her own!

Friday 18 September 2015

August Craftathon III


paper bag, handmade paper flowers
After the invitation card fiasco described in the previous post, I was crestfallen, uninspired and cuddled up in my bed while Coco was in school, when the senior most lady of the battalion called to inform me that we would have to deliver the card personally, and therefore in style. It is not a great idea for three people to visit the chief guest and hand over a mere feeble card. So she was planning to buy a paper bag to keep the card in. I volunteered to make a paper bag, and immediately my mood lifted up. After all, all the handmade paper that I had bought in anticipation was finally going to get a chance at being used for the intended purpose. Plus, there was the opportunity of exercising my paper craft muscles in a guided way.
My next stop was internet, to find out how to fold a paper bag. It is wonderful, this internet thing. It really is interesting to observe how we have almost all the knowledge available to us, just in a few clicks. Anyways, I found a suitable pattern and made my bag. I am not sharing any links that I used because paper bag patterns are easily and freely available all over the crafting sites. And, I also forgot the link that I used :)
Then came the most interesting part of making cute paper flowers and leaves and decorating the bag. In order to enjoy this process, I completely disregarded the theme 'rain and smiles,' because that ugly smiling sun was a prime reason in ruining the whole idea of the card. (Read in previous post.) 
I used the same card sheet that I had used for the card, and made strips of pink colored sheet, which I used as ribbons to twist and make these cute roses. After trying various leaf varieties, I finalized decent looking quilled leaves. It reminded me of my lovely rosebushes, probably because of the same size and color of flowers and leaves.
I laid out all the flowers and leaves on one side of the finished paper bag and found a satisfactory layout. Then the layout was roughly outlined with fevicol and the flowers and leaves took their respective places on the rust background of the bag. It was a little difficult to make the stiff paper flowers stick to a soggy background, even more difficult due to their diamond like shape, and they kept rolling away. So I placed a heavy object on top and waited for a few hours.

It was comparatively a lot easier to paste the flat surfaced leaves and after finishing the floral arrangement, I punched holes on the two edges of the bag and inserted wide green satin ribbon handles. They looked okay because they matched with the leaves if nothing else. After finishing the bag, I really loved the look of the bag and proceeded to do my next favorite thing, i.e. click loads of pictures from every possible angle. 
Crafting this felt really good because it looked so pretty and neat at the end. It also kind of resolved my issues with the main invitation card. I think, it will be a great idea to prepare a few bags like this, maybe with less flowers, and using them to deliver gifts. In the army, it is customary to get invited to dinners etc. and we usually carry little gifts for the hosts. I think receiving a gift in this bag will make the host happier. I know, I would love to get a gift like this. Some of my friends ooh-ed and aah-ed and rolled their eyes in mock anger because they want these bags. Soon!

Thursday 17 September 2015

August Craftathon II


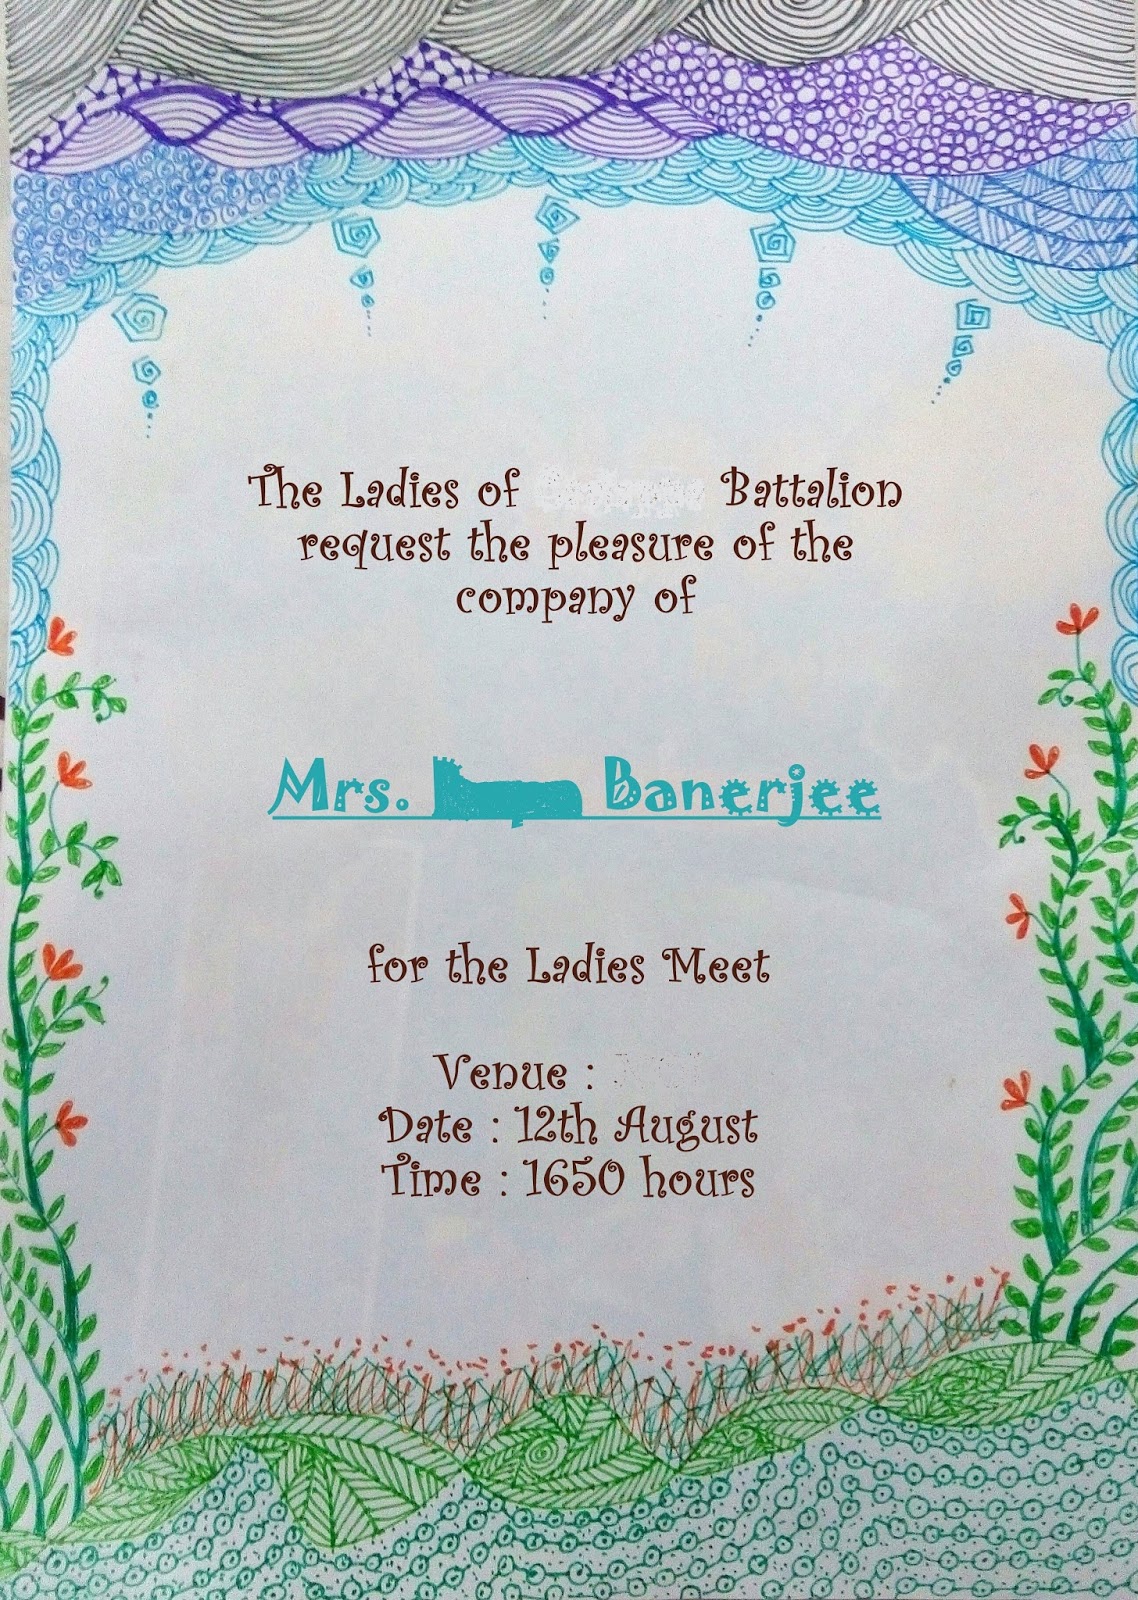
So back in August, when it all began, the preparations for the month's ladies meet, which comes annually to our battalion, I grabbed the job of circular and card making, which was granted to me readily, looking at my past record, and no other contenders looking for this work. I went crazy thinking about all the different things that I could do with paper, sticking to the theme which was Rains and Smiles. I finalized on a pop up box card, and tried to make a rough sample of the card, which is photographed above.

Though this rough draft was way better than the skeletal draft that I had shown as an example for the last year's card (an explosion box card with quilling details), it was way too little charming to see, and as expected, it was not received with as much enthusiasm as its predecessor, and I was asked to make a simple card. Though I was not very happy with that idea, I gave it some thought and found lots of card designs on Pinterest themed on raindrops and rainbows. All I had to do was incorporate some smileys and voila!

Shopping from the craft store is a favorite part of crafting for me. I generally end up buying stuff which has no use whatsoever, like any crafter true to her craft. Basically I am a hoarder of craft supplies. This time too, I bought different color card sheets and handmade paper. The theme was such that it had great scope of using all the colors. So, I happily snipped a few colored strips for a rainbow which neither had seven colors, nor true rainbow colors. But hey, there is no right or wrong when it comes to art! (quoting Mickey Mouse) 

I chose a blue sheet for the main body of the card, because you see, rainbows appear in the azure sky :D. A few dots and dashes with poster color and the appearance of the rainbow stripes began to look closely associated with funny-kiddy smileys. 


After the rainbow-y strips of painted paper were fixed in their respective places, all I had to add was some clouds cut out of white chart paper and a yellow smiling sun. That's all, and the work was mostly done. Then I got the doodled circular and the invite from the previous post printed and pasted them inside the card. This entire process was not difficult or time consuming, it was not interesting either. Compared to the last year's beautiful quilled box card, this looked boring and my creative itch kept itching. Anyhow, I decided to share it on my blog.  

Next Post: August Craftathon continued, with better paper craft, promise!

Thursday 3 September 2015

August Craftathon


It was again that time of the year for me, when I go working enthusiastically doing 'paperwork', i.e. an excuse to execute my artsy-craftsy fantasies in the real world. Remember this post from last August? While I found it hard to pull my attention away from my itchy fingers to update my blog amid all the work, I think it is high time now that I come here, before seasons change, which happens with me often; and before all the pictures that I took during these craft sessions get buried deep down in the crowd of other such data. This August was full of art and craft and void of blogging. But here and in a few upcoming posts, I am thinking of summing up what all I did. The above is a picture of a Ladies Meet circular background that I doodled on an A4 sheet with colored pens while on school run, remember this?

                                     
It was mostly done while I was waiting outside Coco's school in the car, when he was in the school for only an hour in the initial days. The completed background was then photographed, and the resulting image was then edited online to create the circular, which was written by yours truly, like a weather forecast, keeping in mind the theme for the meet, which was 'Rain and smiles.'

                   
After the circular was done, some cards were required to be sent to senior ladies. The miniature copy of the colorful circular pasted to one side of the card rendered the plain white background of the other side looking too dull. Moreover, we needed to write the invitation on that side too. So to create a matching background for their personalized invitation, I set out doodling some more...
                                       
Although it was done hastily, and had more white space, it turned out looking pretty similar to the circular background. It lacked smileys, but it had a good amount of dark clouds and rain. 

And then, this sheet was again subjected to the same treatment of clicking-editing-printing, edited five or six times for different names, and the following was the overall look of the personal invitations. So, our ready made cards were having the custom size printouts of  these two images pasted on both the sides on the inside. 

Coming up posts: The card, envelope and paper bag for delivering this invitation.